

You will need the following:
Rubber Mold Mixture (these are the two parts that you combine together to create the rubber that will form your mold)
Resin Mixture (these are the two parts that combine together to create the resin that will fill your mold and make your model)
The Original (This is the item that you are wanting to copy. For one part molding, it has to be something that has a flat bottom, preferably something without many overhanging parts.)
Casting Container (This is the container where you will place The Original and then pour the Rubber Mold Mixture over, this should ideally be just a tad larger than The Original, in order to use a little Rubber Mold Mixture as possible.)
Small Measuring Cups (This is to measure out the mixtures for the Rubber Mold Mixture and the Resin Mixture.)
Mixing Cups (This is in order for you to mix the different elements that compose the Rubber Mold Mixture and the Resin Mixture.)
Stirring Utensils (This is in order for you to stir the different mixtures)
A Massive Penis (This wasn't needed, but I wanted to just put out there that I have a rather impressive package...)
You can buy these all separately or you can get this all with the starter kit (minus the Mixing Cups & Casting Container) that I used from Alumilite.
Step 1 - Prepare The Original
For my project, I was needing to cast up some of the flat floor panels and grates from the GW Bastion, which meant I didn't have to worry about overhangs etc, but it did cause me some issues with the flat base that one part molding requires. So I had to scrap/sand the bases of the parts so that they were flat and could sit at the bottom of the Casting Container.

Step 2 - Mix the Rubber Mold Mixture
As I said before I was using the Alumilite Rubber Mold Mixture, other brands variants might have different mixtures/elements/mixing values so make sure to follow the specific intructions that come with whatever Rubber Mold Mixture you use. In this case it was 10 parts of the large tub for every 1 part of the small tube. When dealing with the Rubber Mold, due to the fact that it hardens over a period of hours rather than minutes, it is better to make too little than too much as you can always whip another batch should you need more rubber to create the mold.
 |
| Rubber Mold Mixture |
Make sure to not go crazy stirring the mixture, it is of course vital that both parts mix properly, but if you stir too violently you will end up with lots of air bubbles, which could compromise the mold.
 |
| Rubber Mold Mixture mixing cup |
(As a side note, the different elements of the Rubber Mold Mixture are a bit of a nightmare to get off your hands, so either be careful or wear gloves)
Once you have mixed the Rubber Mold Mixture you need to lightly super glue The Original to the bottom of your Casting Container. Depending on your Casting Container, which you can create out of Lego Bricks or card for custom sizes, (just make sure to use some modelling putty to create a air tight seal between the base of the Casting Container and the surface you attach it to, like a piece of card.) I used some old plastic GW boxes, which meant I didn't need to worry about sealing the base of the container to anything. It is up to you to work out the best way for your project.
Step 3 - Pouring the Rubber Mold Mixture
Once the item is glued, pour the Rubber Mold Mixture into the Casting Container and over The Original until the entire body of The Original is covered by at least a half a centimeter of Rubber Mold Mixture.
 |
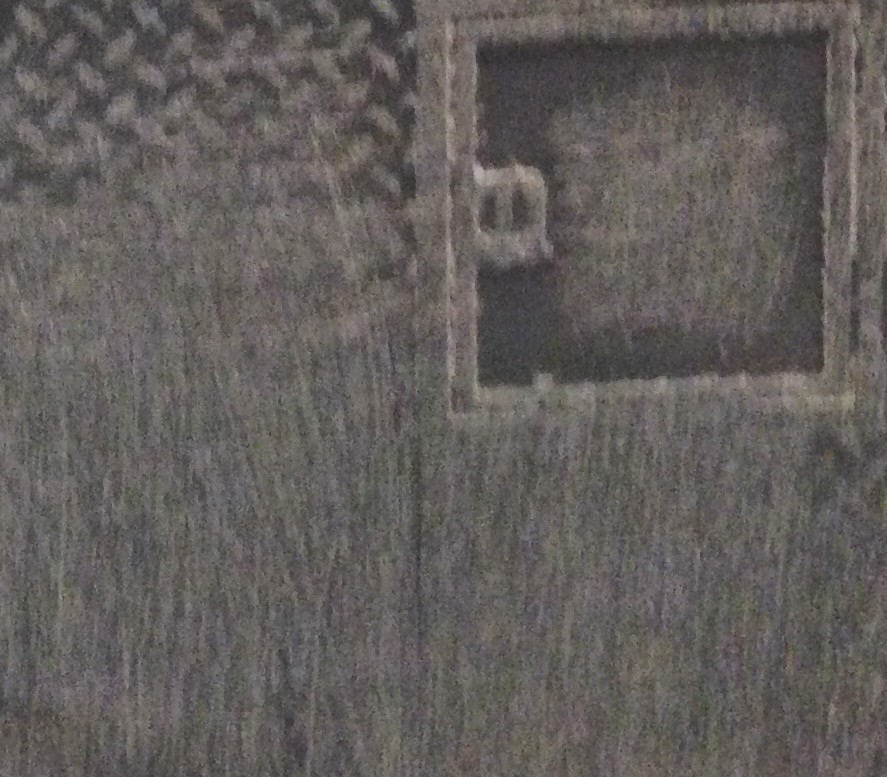
| Rubber Mold Mixture drying over The Original inside of the Casting Container |
The Rubber will take a few hours to dry, I recommend waiting at least 4-6 hours.
Step 4 - Removing The Original from the newly formed Rubber Mold


As you can see in the photos, some of the rubber mixture went underneath The Original, this was partly due to the container and the type of model (the grate makes the rubber molding process a tad difficult), but it also is something that happens with almost all molds. It doesn't affect the integrity of the mold or the quality of the casts, so no need to worry.
For the grate I had to use a modelling knife to remove some of the over hang rubber before I could remove it, but the Floor Panels popped out without any issues. With The Original gone, you are now left with your mold!


Step 5 - Mixing and Pouring the Resin Mixture
Unlike the Rubber Mold Mixture, the Resin Mixture cures faster than you can say "Holly shit, it's all over my hands and it's already solidifying, someone help!!!" It can take around a minute to start to solidify and once that happens you are done. As with the Rubber Mold Mixture you will need to pay attention to the mixture amounts for your particular Resin Mixture, in my case it was a 50/50 mix.

Resin Mixture lasts longer, is cheaper and cures quicker than the Rubber Mold Mixture, so it is best to make more than you need, rather than less, otherwise you end up with casts that look like the image below!

The second you have mixed the two Resin elements together, pour them into your mold and give it between 5 and 15 minutes (depending on the size of your cast) to fully form.
 |
| Freshly poured Resin curing inside the Rubber Mold |
Step 6 - Removing and cleaning the newly cast model
Once everything is dry, pop the model out, which again should be fairly simple. You will probably find some extra unwanted flash, but that should be easy to clean up.
And there you go, you have a nice newly cast model! I would suggest giving the model a rinse in lukewarm soapy water before you start modelling with it, but other than that you are raring to go!
Below you can see some examples of my final casts:


If you have any questions or queries about Resin Casting feel free to leave them in the comments section and I'll answer them as best I can.
No comments:
Post a Comment